_edited.png)

Are you looking for a free sewing patterns for beginners? You’ve found it! This quick and easy scrunchie tutorial will have you sewing your first hair accessory in under 30 minutes.
Whether you want to make regular, jumbo, or mini scrunchies, use up fabric scraps, or create thoughtful handmade gifts, this beginner-friendly project is ideal. In this guide, you’ll learn exactly how to sew a scrunchie step by step with our free PDF sewing pattern.

Why Sew Your Own Scrunchies?
Scrunchies are making a huge comeback in 2026, and sewing them yourself has many benefits:
Uses very little fabric (great for sewing with fabric scraps)
Perfect first sewing project for beginners
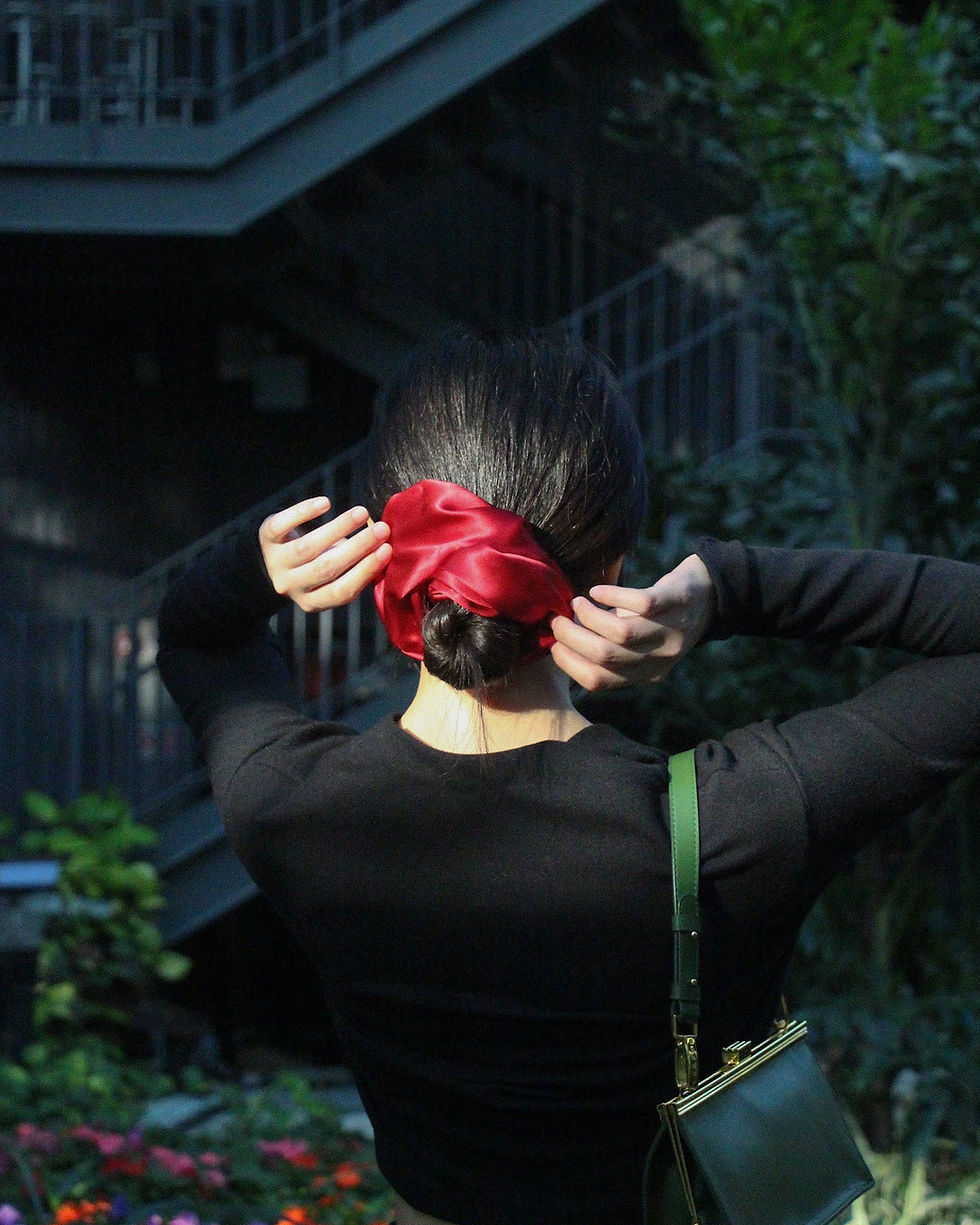
Highly customizable – make velvet, silk, cotton, or satin scrunchies
Wonderful eco-friendly and sustainable sewing project
Excellent handmade gift idea for teens, friends, and bridesmaids

Materials You’ll Need
For this easy DIY scrunchie tutorial, gather these simple supplies:
1 piece of fabric for the scrunchie (cotton, velvet, silk, or satin) – approx. 29cm x 53cm for a bigger size, 14cm x 53cm for smaller size.
2 pieces of fabric for the ribbon – approx. 7cm x 92cm.
2 pieces of cotton lace – approx. 53cm long(optional).
approx. 1cm wide elastic –approx. 20cm long
Safety pin or bodkin
Thread to match your fabric
Sewing machine (or you can hand sew)
Scissors, pins, and a ruler
Pro Tip: This free scrunchie sewing pattern works beautifully with leftover fabric from other sewing projects.
Step-by-Step: How to Sew a Scrunchie (Beginner Tutorial)
Step 1: Download Our Free Scrunchie Pattern

An instructional PDF with images is available to assist you with the process, and there is a video tutorial on YouTube for more detailed guidance → https://youtu.be/IkzrQhe-JsE?si=IGrqByVKdSMF4I5O
Step 2: Cut Your Fabric
Using the free pattern, cut one rectangle with the pattern for a standard scrunchie. Adjust the length if you want a jumbo scrunchie or mini scrunchie.
Step 3: Sew the Long Sides
Fold the fabric in half lengthwise (right sides together) and sew along the long edge with a 1/4" seam allowance, leaving both short ends open.
Step 4: Turn Right Side Out
Turn the tube right side out. This is where a safety pin comes in very handy!
Step 5: Thread the Elastic
Attach a safety pin to one end of the elastic and thread it through the fabric tube. Overlap the elastic ends by 1/2 inch and sew them securely together.
Step 6: Close the Scrunchie
Tuck one raw edge inside the other, pin in place, and topstitch around the opening to finish.
That’s it! You’ve successfully made your own scrunchie using our free PDF sewing pattern.

Scrunchie Variations to Try
Velvet Scrunchies – Perfect for elegant looks
Silk or Satin Scrunchies – Gentle on hair and great for bedtime
Add a Bow – Create a cute bow detail on top
Make a Matching Set – Sew coordinating headbands or hair clips
Best Fabrics for Sewing Scrunchies
Cotton works great for everyday use, while velvet and silk give a luxurious feel. This free scrunchie pattern PDF is very versatile and performs well with most woven fabrics.
Common Beginner Questions
How long does it take to sew a scrunchie?
Most people finish this project in 30 minutes.
Ready to Sew More?
Loved making this scrunchie? Our collection of easy PDF sewing patterns includes beginner-friendly dresses, bags, loungewear, and more. Many customers start with the free sewing patterns for beginners and then move on to bigger projects.
Shop Our Best-Selling PDF Sewing Patterns → https://www.keepervintage.com/sewingpatterns
Download Your Free Scrunchie Sewing Pattern
Get instant access to the free sewing patterns for beginners by this link . You’ll also receive occasional updates with new free patterns and sewing tips.